
Move Out Cleaning Checklist: Room by Room to Get Your Deposit Back
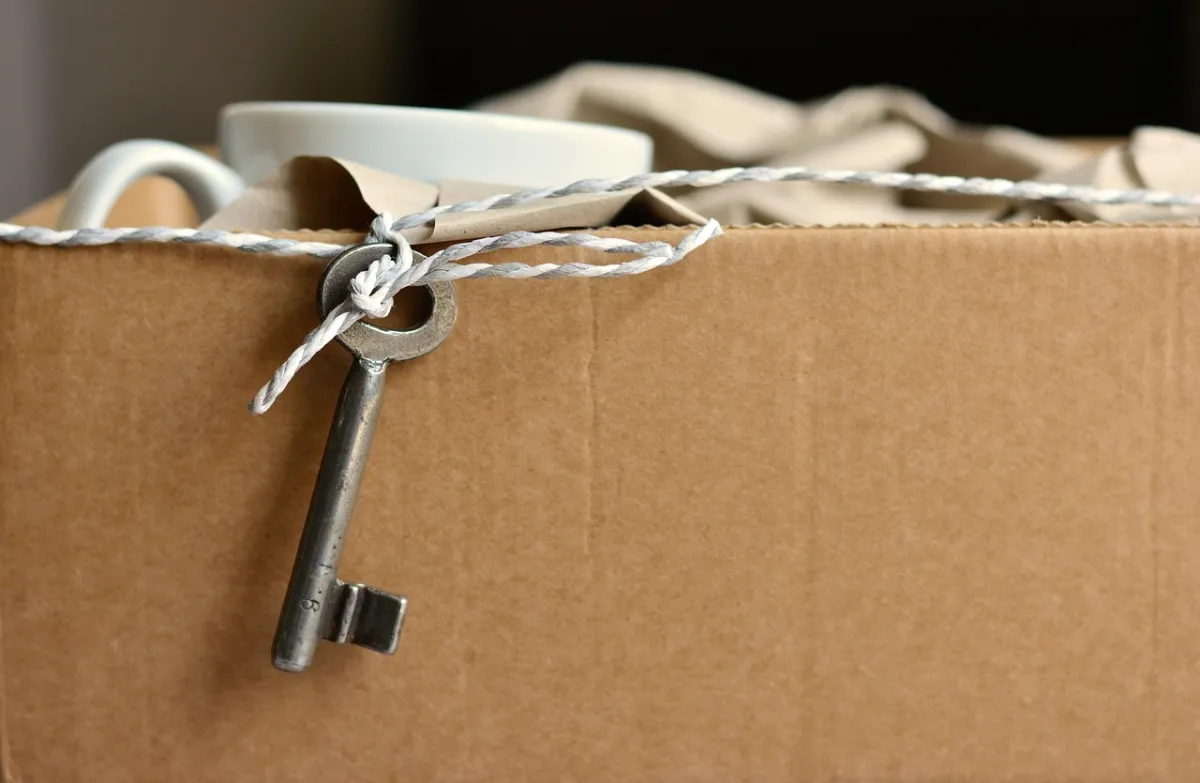
Clean every room from top to bottom, empty and wipe every cabinet and appliance, then photograph each space before you hand back the keys. That is the core of a good move out cleaning checklist, and it protects your security deposit far better than a quick sweep. Landlords usually compare the unit against the move-in report, so dirt they did not see on day one is what costs you money. This move out cleaning checklist walks through each room in the order that saves the most time.
Start With Your Lease and Move-In Report
Read your lease for cleaning rules first, since some leases require professional carpet cleaning and others do not. Find the move-in inspection report and photos you took when you arrived. They show what was already worn or damaged, so you are not blamed for it.
Normal wear and tear, such as faded paint, small nail holes or lightly worn carpet, usually cannot be charged to you. Dirt, grease, missing items and real damage can be charged, which is why a move out cleaning checklist matters so much. Rules differ by state and city, so check your local tenant laws if a charge seems unfair.
Gather Supplies and Work Top to Bottom
Keep your cleaning kit out of the moving boxes so it is ready once the rooms are empty. You need all-purpose cleaner, glass cleaner, a degreaser, baking soda, white vinegar, microfiber cloths, a scrub brush, a vacuum, a mop and trash bags. A step stool helps with high shelves and light fixtures.
Clean each room from the ceiling down, so dust and crumbs fall onto areas you have not cleaned yet. Floors always come last, after every surface above them is done. Following this order makes any move out cleaning checklist faster and avoids cleaning the same spot twice.
Kitchen: The Biggest Part of Your Move Out Cleaning Checklist
The kitchen is where most deposit deductions happen, so give it the most time. Empty, wipe and dry every cabinet and drawer, inside and out. Degrease the stovetop, range hood and backsplash.
- Clean the oven inside, including the racks and the door glass.
- Empty, defrost if needed and wipe the fridge and freezer, then leave the doors slightly open if the power is turned off.
- Run the dishwasher empty and wipe the door seal and filter.
- Scrub the sink and run the garbage disposal with ice.
- Wipe the counters, outlets, switches and the top of the fridge.
Our guide on how to clean garbage disposal units covers the quick ice method. For the microwave, see our guide on how to clean microwave with lemon steam.
Bathrooms
Scrub the toilet inside and out, including the base and the hinges behind the seat. Remove soap scum and hard water spots from the tub, shower and glass. Clean the mirror, sink, faucets and inside the vanity drawers.
Wipe the exhaust fan cover and replace any burned-out bulbs, since landlords often test every light. Bathrooms are the second item every move out cleaning checklist should treat as high priority. Pink mold in grout or caulk is a common deduction, so treat it now. Our guides on how to remove soap scum and how to clean toilet tank parts help with the toughest spots.
Bedrooms and Living Areas
The bedroom part of a move out cleaning checklist is mostly dusting and wiping. Dust ceiling fans, light fixtures, blinds and window sills. Wipe baseboards, door frames and light switches, where fingerprints build up. Clean inside closets, including shelves and the floor.
Wash windows inside and wipe the tracks, which collect dust and dead bugs. Patch small nail holes only if your lease allows it, and use matching paint. A tidy, scent-free room makes a strong first impression during the inspection.
Floors, Walls and Final Touches
Vacuum carpets thoroughly, moving along edges with a crevice tool. If your lease requires carpet cleaning, keep the receipt. In Seattle, for example, local rules say landlords cannot keep a deposit for carpet cleaning unless they document wear beyond ordinary use.
Mop hard floors last, working toward the door. Spot clean scuffs on walls with a damp cloth, testing a hidden area first so you do not remove paint. These last steps finish your move out cleaning checklist on a clean note.
Document Everything Before You Leave
Take dated photos and a short video of every room, inside every appliance and every closet. Do a final walkthrough with your landlord if possible, and ask them to note anything they want fixed. Return all keys and garage remotes, and give your forwarding address in writing.
A complete move out cleaning checklist plus clear photos is your best defense if a dispute comes up. Keep the photos for at least a few months after you get your deposit back.
Related guides:
FAQs
How long does move out cleaning take?
Even an empty one-bedroom apartment can take several hours when you clean every appliance and cabinet. Larger homes or units with heavy grease and soap scum can take a full day or more.
Should I hire a professional move out cleaner?
It can be worth it if you are short on time or the lease requires it. Keep the receipt as proof of cleaning in case of a dispute.
Can a landlord charge for normal wear and tear?
Generally no, since wear from everyday use is expected. Landlords can charge for dirt, damage or missing items beyond normal wear.
What do landlords check first?
Kitchens and bathrooms get the closest look, especially the oven, fridge, toilet and shower. Floors, walls and windows usually come next on their list.
Final Thoughts
Work top to bottom, give the kitchen and bathrooms extra time, and photograph every room before you go. Follow this move out cleaning checklist and you give yourself the best chance of getting your full deposit back.